How to Winterize Outdoor Faucets

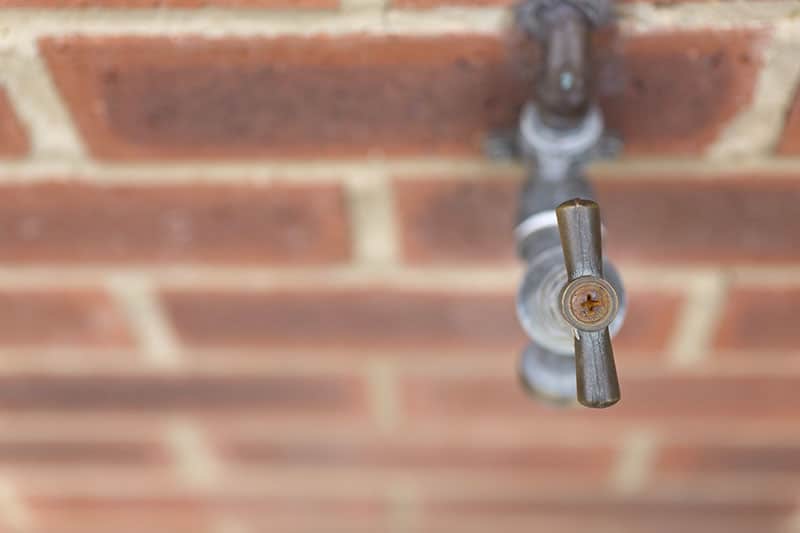
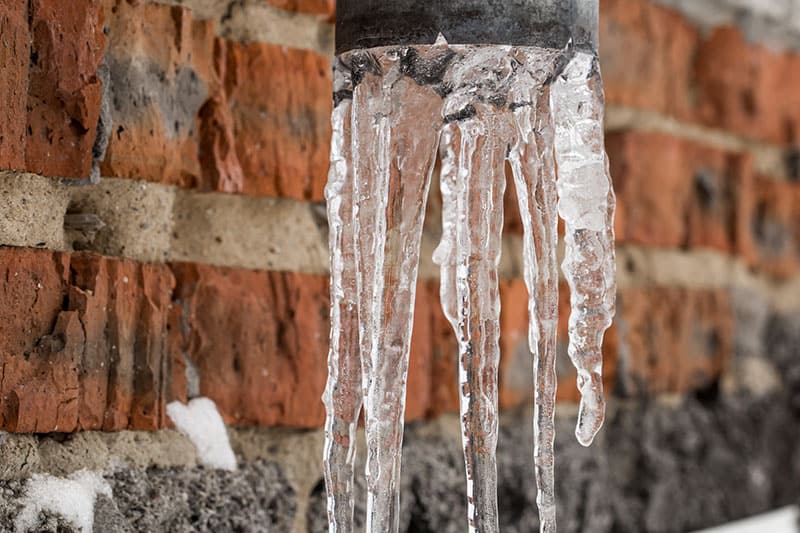
When an outdoor faucet, also known as a hose bibb or spigot, is not properly drained, the water trapped inside becomes a ticking time bomb. A single burst pipe originating from an un-winterized faucet can lead to thousands of dollars in water damage, saturating drywall, ruining expensive flooring, destroying insulation, and creating a perfect environment for hazardous mold growth.
The process of learning how to winterize outdoor faucets is simple, requires only a few minutes per spigot, and uses minimal, inexpensive tools. By taking a few proactive steps now, you can confidently protect your home from the harsh and unforgiving elements of winter.
Quality Plumbing does more than tell you how to winterize outdoor faucets; we take action to restore your plumbing, ensuring your home remains safe, dry, and secure. When you need expert plumbing services to repair burst pipes, fix clogged drains, install a new water heater, or solve any of your plumbing problems, call Quality Plumbing.
[Related: Understanding and Addressing Main Sewer Line Clogs]
How to Winterize Outdoor Faucets: What You’ll Need

Before learning how to winterize outdoor faucets, it’s helpful to gather the few items required for the job. This preparation ensures you can complete the task quickly and efficiently without having to run back and forth for supplies. Fortunately, the list is short and the items are readily available:
- An insulated faucet cover: These inexpensive covers are made of rigid foam or soft, thick fabric. They can be found at any hardware or home improvement store and provide a crucial final layer of protection.
- A small bucket or rag: This is useful for catching the small amount of water that will drain from the shut-off valve’s bleeder cap, keeping your utility area clean and dry.
With these simple items gathered, you are fully equipped to perform this vital process of seasonal home maintenance.
How to Winterize Outdoor Faucets: Step-by-Step Process
Now we come to the core of the task. Follow these four steps methodically for each outdoor faucet to ensure complete protection. This process is the gold standard for how to winterize outdoor faucets and should become an annual part of your home maintenance routine.
Disconnect and Drain All Hoses
Leaving a hose attached to the faucet is the primary cause of freeze-related pipe bursts. Unscrew every garden hose, sprayer, or splitter from all of your outdoor faucets. Once disconnected, drain the hoses completely by holding one end up and walking the length of the hose to force all the water out.
Store your drained hoses in a protected area like a shed, garage, or basement, where they will be safe from the sun’s UV rays and the damaging effects of freezing temperatures. A connected hose traps water inside the faucet and the pipe extending into your home, rendering all other winterization steps useless. This trapped water will freeze, expand, and split the pipe.
Locate and Turn Off the Interior Shut-Off Valve
For every outdoor faucet, there should be a corresponding shut-off valve located inside your home. This valve controls the water supply to that specific spigot. Common locations include the basement, a crawl space, or a utility closet, often found on the wall directly behind the outdoor faucet. Look for a small, separate pipe branching off your main water line. Once you locate it, turn it off completely.
- For a round, wheel-style handle: Turn it clockwise (to the right) until it feels snug. Do not overtighten it.
- For a straight, lever-style handle: Turn it a quarter-turn (90 degrees) so that the handle is no longer parallel with the pipe. It should now be perpendicular to the pipe.
Drain the Outdoor Faucet
After shutting off the interior valve, go back outside and turn the handle of the outdoor faucet to the “on” position. A small amount of water will trickle and then drain out. This is the water that was trapped in the pipe between the interior shut-off valve and the outdoor spigot. It is critical to leave the outdoor faucet in this “on” position for the entire winter season. This ensures that if any remaining water droplets inside the pipe freeze and expand, the pressure can safely escape through the open spigot instead of building up and bursting the pipe.
Install an Insulated Faucet Cover

The final step is to add a layer of insulation. Take your rigid foam or soft insulated cover and place it directly over the entire outdoor faucet. Secure it tightly against the side of your house according to the product’s instructions. Most covers use a simple cord lock, hook, or elastic band to create a snug fit.
This cover acts as a barrier, protecting the faucet from frigid winds and extreme ambient cold, providing a final, crucial layer of defense against freezing. In just a few minutes, you’ve successfully learned how to winterize outdoor faucets and have fortified a critical vulnerability in your home’s plumbing system.
[Related: Common Problems in Plumbing]
Contact Quality Plumbing for Expert Plumbing Services
If you’re unsure about any of the steps outlined in this guide on how to winterize outdoor faucets, notice a pre-existing leak from your spigot, or want the absolute peace of mind that comes from a professional inspection, don’t hesitate to reach out to Quality Plumbing. We can ensure the job is done correctly and identify other potential plumbing issues before they become a disaster.
Protect your property this winter. For expert assistance with winterization, pipe repairs, or any of your home comfort needs, contact the trusted professionals at Quality Plumbing.

