Pipe Winterization Tips: How to Winterize Pipes

As the crisp autumn air gives way to winter’s chill, homeowners across the country begin to prepare their homes for the cold months ahead. Among the most crucial tasks in this preparation is pipe winterization.
This often-overlooked process can save you from costly repairs, water damage, and the inconvenience of frozen pipes during the coldest days of the year. Quality Plumbing is here to help you learn how to winterize pipes, the importance of winterizing your pipes, and pipe winterization tips.
[Related: What to Do if Your Pipes Are Frozen]
What is Pipe Winterization, and Why Is It Important?
Before discussing how to winterize pipes, it is important to understand what pipe winterization is and why it is essential. Pipe winterization is the process of preparing your plumbing system to withstand freezing temperatures.
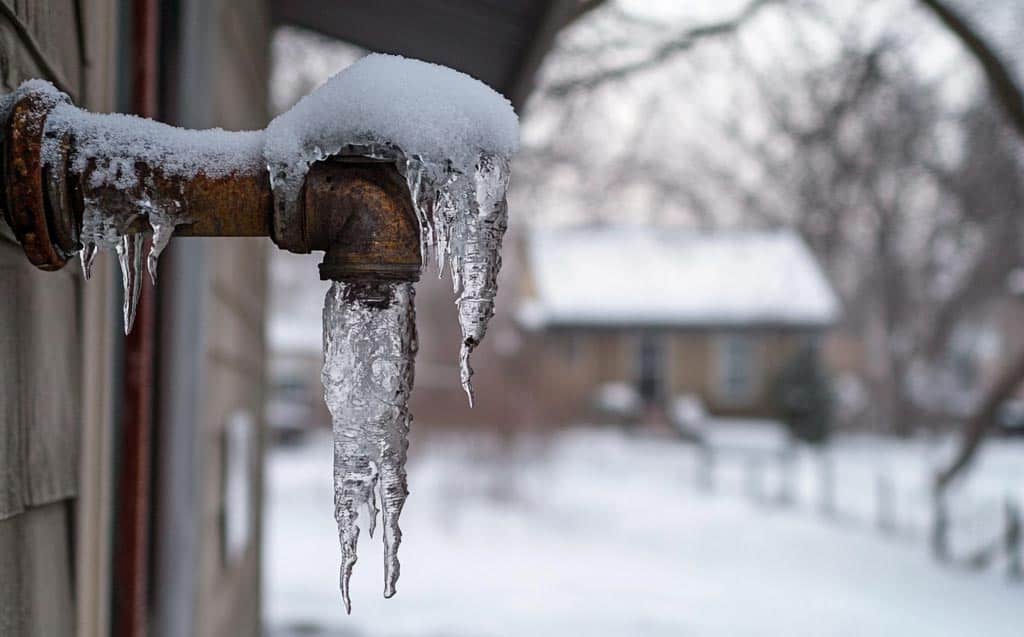
When water freezes, it expands, putting immense pressure on pipes that can cause them to burst. This can lead to flooding, structural damage, and the growth of mold and mildew. By learning how to winterize your pipes and essential pipe winterization tips, you’re not only protecting your home but also ensuring your comfort and peace of mind throughout the winter season.
How to Winterize Your Pipes: Key Pipe Winterization Tips

Now that we understand the importance of pipe winterization, let’s explore how to winterize pipes and learn critical pipe winterization tips to protect your plumbing system from freezing temperatures.
- Insulate exposed pipes: Use pipe insulation sleeves or wrap to fit the length of your pipes, and secure it with tape or zip ties. For added protection, consider using heat tape or heat cables on particularly vulnerable pipes, as they provide consistent warmth during freezing temperatures.
- Seal cracks and openings: Cold air can enter your home through small cracks and openings, potentially freezing nearby pipes. To prevent this, use caulk or foam insulation to seal openings around windows, doors, and where pipes enter the house.
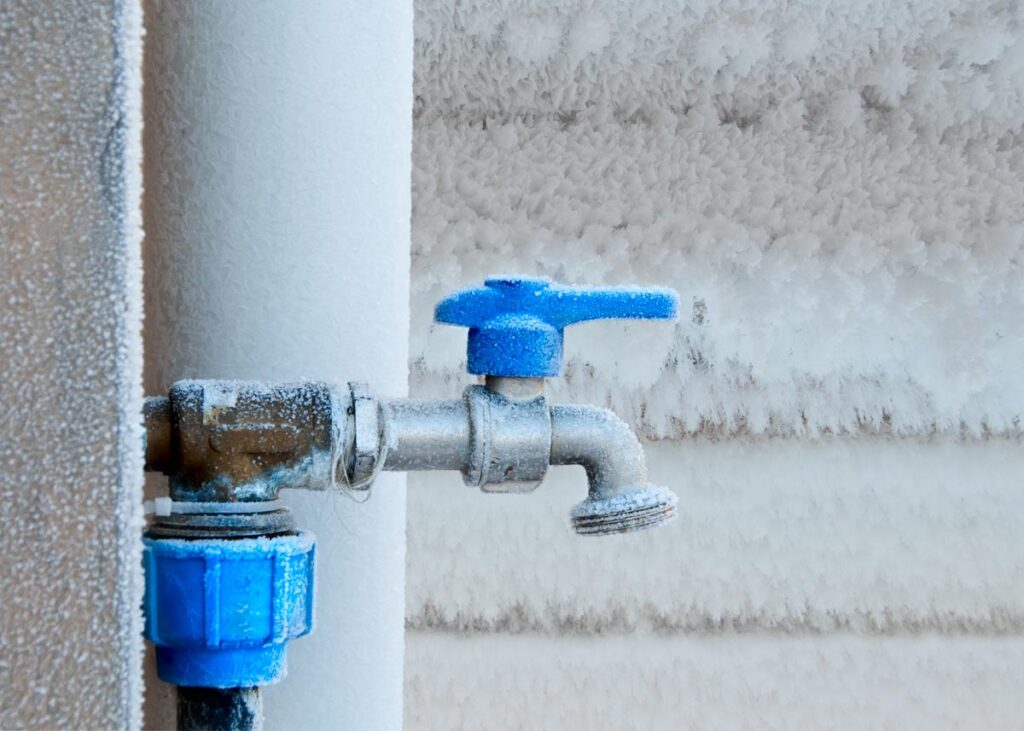
- Disconnect and drain outdoor hoses: Leaving hoses connected to outdoor faucets can trap water, leading to freezing and potential damage. Winterize your outdoor plumbing by disconnecting all garden hoses from outdoor faucets, drain the hoses entirely and store them indoors, close the shut-off valves for outdoor faucets, open the outdoor faucets to allow any remaining water to drain, and install insulated faucet covers on outdoor spigots to provide additional protection.
- Keep indoor temperatures consistent: Maintaining a consistent indoor temperature is crucial for preventing pipes from freezing. Set your thermostat to at least 55°F (13°C), even when you’re away from home, avoid drastic temperature changes, which can cause pipes to contract and expand, and consider using a smart thermostat to maintain consistent temperatures and monitor your home remotely.
- Allow faucets to drop during extreme cold: Open faucets connected to pipes in unheated or exterior walls during periods of extreme cold to allow a small trickle of water to flow. This constant movement of water helps prevent freezing.
- Open cabinet doors to allow warm air circulation: Pipes under sinks in kitchens and bathrooms are often located against exterior walls, making them vulnerable to freezing. To protect these pipes, open cabinet doors beneath sinks to allow warm air to circulate around the pipes, and consider using a small fan to direct warm air to these spaces during extremely cold periods.
By following these guidelines and partnering with trusted professionals like Quality Plumbing when needed, you can ensure your home stays warm, dry, and comfortable throughout the winter months. Don’t wait until it’s too late – start your pipe winterization efforts today and enjoy peace of mind all season long.
Pipe Winterization Tips: What to Avoid

While winterizing your pipes is crucial, there are some common mistakes you should avoid to prevent damage and ensure safety. The first of these pipe winterization tips is never to use an open flame, like a blowtorch, to thaw frozen pipes. This can cause severe damage to your pipes and pose a significant fire hazard. Instead, use common household items, such as a hot towel or hair dryer, to warm the pipe closest to the faucet and work your way down the pipe, applying heat evenly until water flow is restored.
Another tip for pipe winterization to avoid damage is not to overlook small leaks or cracks in pipes because they can quickly become major problems during freezing temperatures. Regularly inspect your pipes for signs of damage, address any leaks or cracks immediately, no matter how small they seem, and consider professional repair for any pipe damage you’re unsure about handling yourself.
Finally, outdoor plumbing is particularly vulnerable to freezing, so it is important to address outdoor spigots and irrigation systems. Draining and winterizing your irrigation system, insulating outdoor spigots and pipes, and installing frost-free outdoor faucets are all crucial pipe winterization tips you should follow.

Contact Quality Plumbing for Expert Services
Learning how to winterize your pipes and implementing our pipe winterization tips is crucial to protecting your home from the harsh effects of cold weather. Remember, the key to effective pipe winterization lies in thorough preparation and consistent maintenance throughout the winter season. From insulating exposed pipes to maintaining consistent indoor temperatures, each step plays a vital role in keeping your plumbing system safe and functional.
Quality Plumbing offers more than pipe winterization tips; we provide expert plumbing services to restore your plumbing and peace of mind. Contact us today and experience the Quality Plumbing difference for yourself!

